
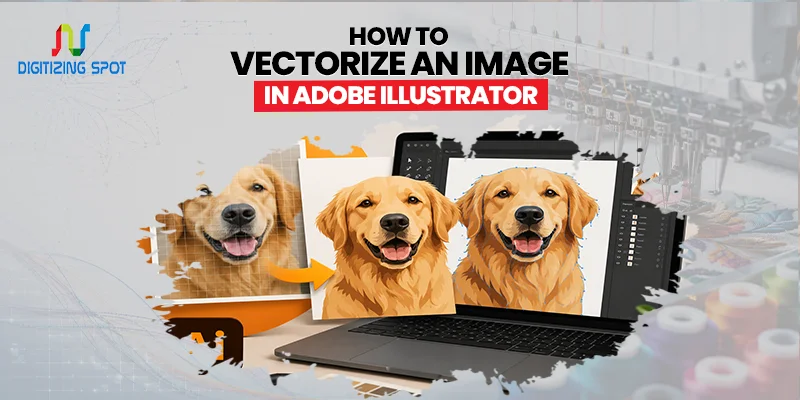
How to Vectorize an Image in Adobe Illustrator
A blurry logo or low-quality image can ruin a great design. For sharp graphics that look good on business cards, T-shirts, signs, or websites, you need a vector file. The good news is that Adobe Illustrator makes things easy, even for beginners. With the right steps, you can turn a pixel-based image into a clean vector that stays sharp at any size.
In the next 5 minutes, you’ll learn to vectorize an image in Adobe Illustrator. You’ll see when to use Image Trace, how to tidy up your artwork, and how to save your final file. We’ll share tips for better results. Also, we’ll explain when to think about using professional vector conversion services.
What Does It Mean to Vectorize an Image?
Vectorizing an image means changing a raster image into a vector graphic. Raster images consist of tiny pixels, but vector graphics use paths, points, and curves. Because vector files are not made from pixels, they can be resized without losing quality.
Whether you make the artwork smaller for a label or larger for a billboard, the edges stay smooth and clear. This is why businesses, clothing brands, print shops, and designers prefer vector files for logos and artwork. If you need clean, accurate print-ready files for screen printing, consider our AI Color Separation Service.
Raster Images vs. Vector Images
Before you begin, it helps to know the difference between these two file types. Raster images include formats like JPG, PNG, GIF, and BMP. These files work well for photos but lose quality when enlarged.
Vector files include AI, EPS, SVG, and PDF. These files keep their sharp edges no matter how much you resize them. They are the go-to option for printing, embroidery, vinyl cutting, laser engraving, and more. If your logo is just a JPG or PNG, the first step is to convert it into a vector file. This is important before printing or manufacturing.
Order Your Custom Patch Now!
Why Use Adobe Illustrator for Vectorization?
Adobe Illustrator is one of the most trusted programs for creating and editing vector graphics. It includes powerful tools that help convert images into editable vector artwork. The software offers Image Trace, which quickly creates vector paths from raster images.
You can also adjust colors, shapes, and details before saving the final design. Illustrator helps you create artwork for your business and prepare print files. It gives you the control you need for professional results. If you have a low-quality logo or image, consider our JPEG to AI Conversion Service for sharp, scalable vector artwork.
Prepare Your Image Before Vectorizing
The quality of your original image has a big impact on the final result. Choose the highest-quality version you have. A clear image with strong contrast usually creates cleaner vector paths than a blurry or compressed file.
If possible, remove unwanted backgrounds before importing the image into Illustrator. A simple image with fewer colors is also easier to trace accurately. Taking a few extra minutes to prepare the artwork can save a lot of editing time later.
Step 01: Open Adobe Illustrator
Launch Adobe Illustrator and create a new document. Go to File > Open or simply drag your image into the workspace. You can use JPG, PNG, BMP, TIFF, or other common raster image formats. After placing the image, select it using the Selection Tool.
Step 02: Open the Image Trace Panel
With the image selected, look at the top toolbar and click Image Trace. For more control, open the full Image Trace panel by selecting Window > Image Trace. This panel lets you choose different tracing styles based on your artwork.
Step 03: Choose the Right Image Trace Preset
Adobe Illustrator includes several Image Trace presets. Picking the correct one helps create cleaner artwork. If you are tracing a company logo, the Black and White Logo preset usually works well. For colorful graphics, select High Fidelity Photo or Low Fidelity Photo. If your design has only a few colors, the 6 Colors or 16 Colors preset often produces better results. Try different presets until you find the one that matches your image.
Step 04: Adjust the Image Trace Settings
- Once you select a preset, fine-tune the settings.
- Increase the Threshold if you want Illustrator to include more dark areas.
- Adjust the Paths slider to make shapes follow the original image more closely.
- The Corners setting helps keep sharp edges where needed.
- The Noise setting removes tiny unwanted details that can make the vector messy.
- Use the Preview option to see changes before applying them.
- Small adjustments often make a big difference in the final quality.
Step 05: Expand the Artwork
When you are happy with the preview, click Expand in the top toolbar. This converts the traced image into editable vector paths. Your artwork is now made of shapes instead of pixels. At this stage, every part of the design can be edited separately. If your design needs precise color separation for professional printing, consider our Photoshop Separation Service.
Step 06: Clean Up the Vector
Image Trace does a great job, but most designs still need a little cleanup. Use the Direct Selection Tool to remove unwanted shapes or fix uneven edges. Delete extra anchor points if the artwork looks rough. You can also smooth curves and adjust small details to make the design look cleaner. Professional-looking vectors usually require a few minutes of manual editing after tracing.
Step 07: Save Your Vector File
After cleaning the artwork, save it in the correct format. Choose AI if you plan to edit the file later in Illustrator. Save as EPS if the file will be used for printing or manufacturing. Export as SVG for websites and digital graphics. PDF is another popular option because it works with many design and printing programs. Keeping multiple file formats makes your artwork easier to use for different projects.
Common Image Trace Problems
Sometimes the first trace does not look perfect. Low-resolution images often create rough edges and uneven shapes. Images with busy backgrounds can confuse Image Trace and create unnecessary paths. Photos with many colors may also generate thousands of anchor points, making the file harder to edit. If this happens, simplify the artwork or manually adjust the paths after tracing. A cleaner source image almost always produces better vector artwork.
Tips for Better Vector Results
- Always begin with the highest-quality image available.
- Use logos with solid colors whenever possible.
- Zoom in while editing to catch small mistakes that may not be visible at normal size.
- Keep the number of colors low if your design does not need complex shading.
- Save your original image before making changes so you can restart if needed.
When Should You Choose Manual Vectorization?
Image Trace works well for many simple graphics, but it is not always the best choice. Detailed logos, hand-drawn artwork, and complex illustrations often need manual vector drawing.
Manual vectorization creates cleaner curves, fewer anchor points, and more accurate shapes. It also creates files that are better for screen printing, embroidery, vinyl cutting, and large-format printing. If your artwork represents your brand, taking the extra time to create a clean vector file is worth it.
Need Help To Create Custom Patch Right Now!
Why Businesses Need Professional Vector Conversion
Many businesses receive customer logos in low-quality JPG or PNG formats. These files are often too blurry for professional printing. A professionally made vector file ensures your branding stays consistent. This covers everything: business cards, banners, uniforms, and promotional items. It also saves time in production. Print shops and embroidery companies can use clean, editable artwork.
Let Digitizing Spot Handle Your Vector Artwork
Creating a clean vector file takes more than clicking the Image Trace button. A professional artist can smooth curves and reduce extra anchor points. They also prepare artwork for printing, embroidery, laser engraving, and vinyl cutting.
At Digitizing Spot, we offer quick, precise, and budget-friendly vector conversion services. We cater to businesses, designers, apparel brands, and print shops throughout the USA. Each file is checked carefully before delivery to ensure it meets production standards.
If your logo is blurry, your image is old, or you need artwork recreated, our skilled team is here to help. We focus on quality, quick turnaround times, and excellent customer service. If you’re unsure about the file format you need, we’ll help you every step of the way. Contact Digitizing Spot today for a free quote on your vector conversion project.
Conclusion
Learning to vectorize an image in Adobe Illustrator is a useful skill. It helps anyone working with logos, graphics, or print designs. The Image Trace feature simplifies the process. With a bit of cleanup, you can create sharp, scalable artwork that looks great at any size.
Illustrator is great for many projects. However, some artwork needs a skilled vector artist’s touch. For fast, ready-to-use files, Digitizing Spot provides reliable service, quick turnaround, and excellent results.
Get A Custom Quote
Frequently Asked Questions
Yes. Adobe Illustrator can convert JPG images into vector graphics using the Image Trace feature.
Image Trace is great for simple artwork. However, detailed logos and illustrations usually need some manual editing to achieve the best results.
AI, EPS, SVG, and PDF are the most common vector file formats.
Yes. Once you click Expand, every shape becomes editable.
Vectorizing won’t bring back lost details from a low-quality image. However, it does create artwork that remains sharp and clear, no matter the size.
High-resolution images with sharp edges, bold colours, and plain backgrounds often give the best results.
Yes. Vector files are often used as the starting point for embroidery digitizing because they provide clean artwork.
Most vector conversion projects can be done in 24 hours. This depends on how complex the artwork is.
This usually happens because the original image is low quality or the Image Trace settings need adjustment.
Digitizing Spot provides quick and precise vector conversion services. You’ll get production-ready files and a free quote for each project.
