
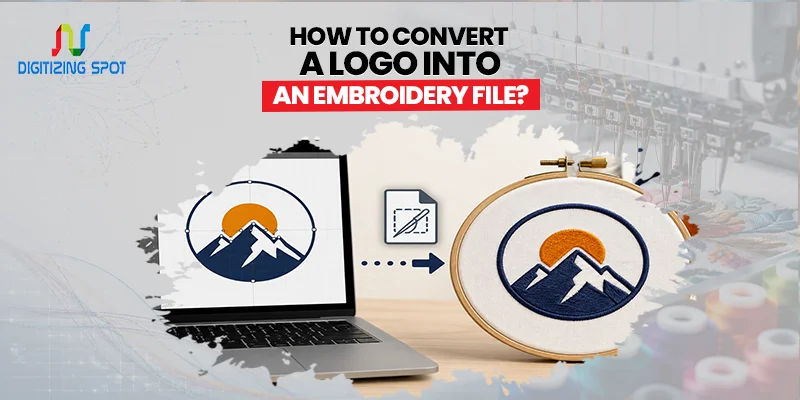
How to Convert a Logo into an Embroidery File?
A logo can look perfect on a screen but turn into a problem when stitched on fabric. Lines may break, letters may blur, and small details often disappear. This happens because embroidery machines cannot read normal image files like JPG or PNG. They need a stitch file that tells them exactly how to sew the design.
That is where embroidery digitizing comes in. It converts your logo into a stitch-ready file that works with embroidery machines. When done right, your logo looks clean, sharp, and professional on uniforms, hats, jackets, and other clothing. In this guide, you will learn how the process works and why good digitizing makes a big difference in quality.
What Is an Embroidery File?
An embroidery file is not a picture. It is a set of instructions that guides the embroidery machine. These instructions include stitch paths, stitch types, and color changes. If you want clean, production-ready embroidery files with sharp stitch quality, consider our custom embroidery digitizing service. Common formats include DST, PES, EXP, JEF, and VP3. Each format works with different machines, but all of them serve the same purpose: turning your logo into stitches instead of pixels.
Why a Regular Logo File Does Not Work
A JPG or PNG file only shows an image. It does not contain any stitch data. When you try to use it directly, the machine does not know how to sew it. This often leads to poor results like uneven stitching, broken text, and distorted shapes. Small details may disappear completely. For this reason, every logo must be converted into a proper embroidery file before production.
Order Your Custom Patch Now!
How to Convert a Logo into an Embroidery File (Step-by-Step)
Step 01: Prepare Your Logo Artwork
The process begins with your logo file. A clear, high-quality design always gives the best embroidery results. If possible, use vector formats like AI, EPS, or SVG because they can be scaled without losing sharpness. If you only have a PNG or JPG, it can still work as long as the image is not blurry or pixelated. However, cleaner artwork always leads to better stitch quality and fewer adjustments during digitizing.
Step 02: Import the Logo into Embroidery Software
Once the artwork is ready, the digitizer opens it in embroidery digitizing software. This is where the real conversion begins. The logo is not just “converted” automatically. Instead, it is rebuilt manually so the machine can understand how to stitch it properly on fabric. If your logo is blurry or low quality, consider our custom vectorizing service to create a crisp, scalable design for printing and embroidery.
Step 03: Assign the Right Stitch Types
Every part of the logo needs a different type of stitch depending on its shape and size. Text, outlines, and borders are usually created with satin stitches because they give a smooth and polished look. Bigger filled areas use fill stitches so the design covers the fabric evenly. Small details or thin lines often use running stitches to keep them sharp and clean. This step decides how professional the final embroidery will look.
Step 04: Adjust Stitch Direction and Density
After choosing stitch types, the digitizer sets the stitch direction and density. This step plays a big role in how the design appears on fabric. Stitch direction controls the angle of stitches, which affects shine and texture. Density controls how close the stitches are placed. If it is too tight, the fabric can pucker. If it is too loose, the design may look empty or uneven. A proper balance ensures the logo stays smooth and stable when stitched.
Step 05: Add Underlay Stitches
Underlay stitches are placed under the main design before final stitching begins. They act like a foundation. These stitches help hold the fabric in place and give the top stitches a stable base. They also improve clarity, especially for text and small shapes. Without proper underlay, embroidery can shift or lose shape during production. If you want full-color designs with fine details for apparel, consider our custom DTF transfer service for vibrant and long-lasting results.
Step 06: Set Stitch Order (Sequencing)
Now the digitizer decides the stitching order of the design. This is called sequencing. The goal is to make the embroidery process smooth and efficient. A good sequence reduces thread changes, avoids unnecessary trims, and prevents parts of the design from overlapping in the wrong way. Proper sequencing also saves production time and improves consistency.
Step 07: Test the Embroidery File
Before final delivery, the design is tested either through a digital simulation or a sample stitch-out. This step helps catch problems like spacing issues, thread breaks, or uneven stitching. If anything looks off, adjustments are made before the file is sent for production. Testing ensures the final embroidery looks clean and professional on fabric.
Need Help To Create Custom Patch Right Now!
Common Mistakes in Logo Conversion
Many embroidery issues come from poor preparation. One common mistake is using low-quality artwork. Blurry images make it hard to create accurate stitch paths. Another issue is expecting very small details to stitch perfectly. Embroidery has limits, especially on small items like caps.
Skipping a sample test is also risky. Even a good design can behave differently on different fabrics. Testing helps avoid wasted materials and ensures better results.
Conclusion
Converting a logo into an embroidery file is not just a format change. It is a careful process that turns a flat image into stitch instructions. When done correctly, it helps your logo look sharp and consistent on fabric. Good digitizing improves appearance, reduces production problems, and gives your brand a more professional look. Choosing skilled digitizing support can save both time and cost while improving final results. If you need your logo converted into a clean embroidery file, Digitizing Spot is ready to help with quality work and a fast turnaround. You can also request a free quote to get started.
Get A Custom Quote
Frequently Asked Questions
It is a stitch-based file that tells an embroidery machine how to sew a design.
Yes, but it must be converted into a stitch file through digitizing first.
Vector files like AI, EPS, and SVG work best.
It is the process of converting artwork into stitch instructions for machines.
Most designs are ready within a few hours to one day.
Machines cannot read images; they need stitch instructions instead.
Yes, but it may need adjustments to stay readable.
DST is widely used across many machines.
No, different machines require different formats.
They ensure clean stitching, fewer errors, and better final quality.
