
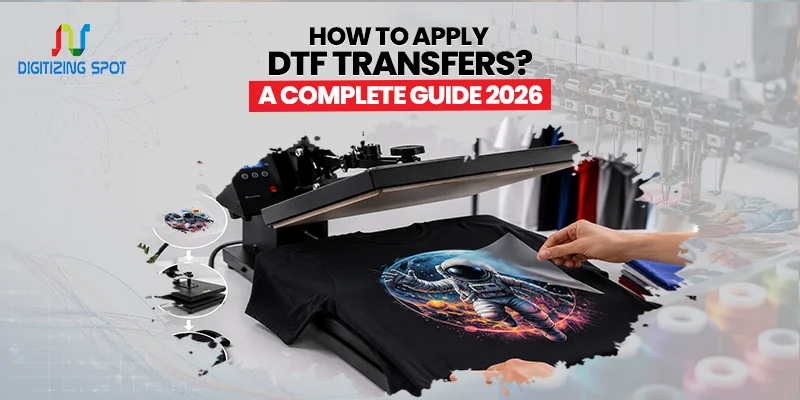
How to Apply DTF Transfers? A Complete Guide 2026
Using DTF transfers is a simple way to make vibrant, durable custom clothing. No matter if you own a print shop, run a clothing brand, or love DIY projects, the right method really matters. To get clean, smooth, and professional prints that endure many washes, just follow these easy steps.
If you’ve never applied a DTF transfer before, don’t worry. The process is easier than many people think. In the next 5 minutes, you’ll discover all you need. We’ll cover preparing your heat press, peeling the film, and caring for your finished design. By the end, you’ll feel ready to press your own DTF transfers with confidence.
What Is a DTF Transfer?
DTF stands for Direct-to-Film. Instead of printing directly onto fabric, the design is first printed onto a special film. The printed film is coated with adhesive powder. Then, it’s cured. After that, a heat press transfers it onto fabric.
This method works well on cotton, polyester, blends, canvas, and many other materials. DTF printing is now a top choice for custom apparel in 2026. Its flexibility and vibrant colors make it stand out. If you want ready-to-press transfers with bright colors and prolonged results, consider our Custom DTF Transfers Service.
Why Are DTF Transfers So Popular?
Many businesses choose DTF transfers because they are simple to use and produce consistent results. Unlike some printing methods, DTF does not require fabric pretreatment. It also works on both light and dark garments.
Another reason for its popularity is durability. When used properly, DTF prints remain bright and resist cracking, peeling, and fading, even after many washes.
For small businesses, DTF is also a cost-effective option. You can print single items or large batches without changing your setup.
Order Your Custom Patch Now!
What Equipment Do You Need?
Before you begin, make sure you have the right tools. Using quality equipment helps you achieve better results every time. You’ll need:
- A DTF transfer
- A heat press
- A lint roller
- A clean garment
- Parchment paper or a protective sheet
- A flat work surface
A heat press is recommended because it applies even pressure and consistent heat across the entire design. If your artwork needs clean, scalable files for printing, consider our Custom Vector Art Service.
Step 01: Prepare Your Garment
Start with a clean garment. Dust, lint, and moisture can affect how well the transfer sticks to the fabric. Use a lint roller to remove any loose fibers. Then place the garment on your heat press and press it for about five seconds. This removes moisture and smooths out wrinkles before applying the transfer. Skipping this step can lead to uneven adhesion or small air pockets under the design.
Step 02: Position the DTF Transfer
Place the transfer film on the garment with the printed side facing down toward the fabric. Take your time when positioning the design. Measure if needed to make sure it is centered. A small adjustment now can prevent wasting the garment later. Once you are satisfied with the placement, keep the transfer flat without any wrinkles.
Step 3: Set the Right Heat Press Temperature
Correct temperature is one of the most important parts of the process. Most DTF transfers work best at 300°F to 325°F. The exact setting can change based on the film and adhesive, so always check the supplier’s instructions. Too much heat may damage the design, while too little heat can prevent the adhesive from bonding properly.
Step 4: Apply Firm Pressure
Close the heat press and apply medium to firm pressure. Most transfers require pressing for 10 to 15 seconds. During this time, heat melts the adhesive powder and bonds the design to the fabric. Avoid opening the press early because incomplete pressing may reduce durability.
Step 5: Peel the Film
Different DTF transfers have different peel instructions. Some require a hot peel, while others need to cool before removing the film. Always check the instructions that come with your transfer. Peel the film slowly and smoothly. If any part of the design lifts with the film, place it back down and press again for a few more seconds.
Step 6: Do a Final Press
After removing the film, place parchment paper or a protective sheet over the design. Press again for about 5 to 10 seconds. This second press helps seal the print into the fabric and gives it a smoother finish. It also improves wash durability. If you need your logo converted into a machine-ready embroidery file, consider our Embroidery Digitizing Service.
Best Fabrics for DTF Transfers
One of the biggest advantages of DTF printing is its ability to work on many fabric types. Cotton remains one of the most common choices because it produces bright colors and soft prints. Polyester also works well and is often used for sportswear. Cotton-poly blends provide excellent results for everyday clothing. Canvas bags, hoodies, sweatshirts, and workwear can also be decorated using DTF transfers.
This flexibility lets businesses provide more products without altering printing methods.
Common Mistakes to Avoid
Even though DTF printing is simple, small mistakes can affect the final result. One common mistake is using the wrong temperature. Always test your heat press settings before starting a large order. Applying uneven pressure can also create weak spots where the design may lift after washing.
Another mistake is forgetting to pre-press the garment. Moisture trapped inside the fabric can reduce adhesion. Finally, avoid stretching the garment immediately after pressing. Let the print cool properly before handling it.
Need Help To Create Custom Patch Right Now!
How to Make DTF Transfers Last Longer
Good care helps your printed garments stay in excellent condition. Wash garments inside out using cold or warm water. Choose a mild detergent instead of strong bleach products. Avoid high heat when drying because excessive heat can shorten the life of the print.
If ironing is needed, never place the iron directly on the printed design. Instead, turn the garment inside out or place a cloth over the print. With proper care, DTF transfers can remain bright and durable through many wash cycles.
Why Businesses Choose Professional DTF Transfer Services
Many clothing brands and print shops prefer ordering ready-to-press DTF transfers instead of producing them in-house. Professional suppliers use commercial-grade printers, quality films, and reliable adhesive powders. This helps reduce printing errors while saving time and production costs.
Working with an experienced provider gives you consistent colors, sharp details, and reliable turnaround times. Businesses can concentrate on serving customers and boosting sales. They won’t have to worry about equipment maintenance.
Conclusion
Applying DTF transfers is a simple process when you follow the correct steps. For a clean and lasting print, prep the garment, set the heat correctly, apply even pressure, and finish with a final press. No matter if you’re making one custom shirt or managing large orders, these tips will help you achieve consistent results.
For reliable, top-notch DTF transfers without the fuss of doing it yourself, Digitizing Spot is here for you. We provide top-notch transfers, fast service, friendly support, and great prices to make your ideas come true. Request your free quote today and start your next project with confidence.
Get A Custom Quote
Frequently Asked Questions
A heat press is strongly recommended because it provides even heat and pressure. A household iron may not produce consistent results.
When applied correctly and cared for properly, DTF transfers can last for many washes without noticeable fading or peeling.
Yes. DTF transfers work well on both light and dark fabrics without losing color quality.
Most transfers are applied between 300°F and 325°F, but always follow the instructions provided with your transfer.
No. One of the biggest benefits of DTF printing is that fabric pretreatment is generally not required.
Yes. With a quality heat press and the correct settings, beginners can achieve professional-looking results.
Wait at least 24 hours after pressing before washing the garment. This gives the adhesive enough time to fully bond with the fabric.
Yes. DTF transfers work great on hoodies, sweatshirts, and many other thick fabrics.
Yes. A heat press gives the even heat and pressure needed for the best results.
Not if they are applied correctly and washed according to the care instructions.
