
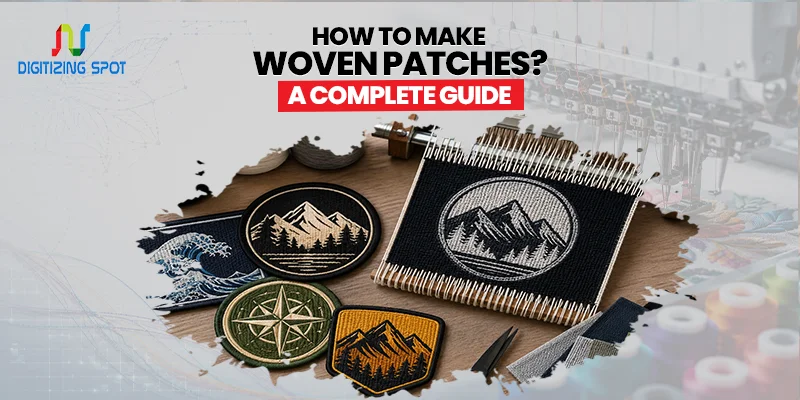
How To Make Woven Patches? A Complete Guide
Have you ever seen a woven patch with sharp details and wondered how it’s made? If you’re trying to make one yourself, it’s easy to feel confused at first. Using the wrong materials, patch style, or design can lead to messy patches that don’t last.
That can be annoying, especially when you’re making patches for your brand, team, or business. Once you understand how the process works, everything becomes much easier. Choosing the right threads and adding the final backing are key steps. Each part helps make a patch look professional and last longer.
What Are Woven Patches?
Woven patches use thin threads woven together, not stitched onto the fabric. This method makes a smooth surface. It can display fine lines, small text, and detailed artwork. Unlike embroidered patches, woven patches have very little raised texture. If you want soft, textured patches that add a bold and classic look to your apparel, consider our custom chenille patches.
They are thinner and lighter. They’re ideal for detailed logos or designs needing precision. Because of their clean appearance, woven patches are widely used by clothing brands, sports teams, schools, military groups, and businesses.
Why Choose Woven Patches?
Woven patches offer several benefits that make them a popular choice. They can display tiny details that embroidery cannot easily produce. Thin lines, small lettering, and complex logos remain clear because the design is woven directly into the patch.
Their lightweight feel also makes them comfortable on hats, shirts, jackets, backpacks, and uniforms. If your design has many small elements, woven patches are often the better option.
Order Your Custom Patch Now!
Materials Needed to Make Woven Patches
Before you begin, gather the right materials. You will need:
- Woven polyester threads
- A weaving loom or woven patch machine
- Backing fabric
- Border material
- Adhesive or sew-on backing
- Scissors or a laser cutter
- A digital design file
Step 01: Create Your Design
Every woven patch starts with artwork. Keep your logo clean and well-balanced. While woven patches can handle much more detail than embroidery, the design should still be easy to read. Most manufacturers prepare the artwork using vector files because they keep every line sharp during production. A clear design always leads to a better patch. If you want a premium, rugged finish that adds a timeless look to your products, consider our custom leather patches.
Step 02: Convert the Artwork for Weaving
The artwork must be prepared for the weaving machine. Special software maps every thread color and tells the machine exactly how to weave the design. This process is different from embroidery digitizing because no stitches are involved. Instead, every thread is woven into place to create the final image. Accurate file preparation helps prevent color errors and blurry details.
Step 03: Select the Thread Colors
Thread selection plays a big role in the final appearance. Choose colors that match your brand or logo. High-quality polyester thread is often the best choice because it resists fading and keeps its color after repeated washing. Using premium thread also helps the patch maintain a clean and professional finish.
Step 04: Weave the Patch
Now the production begins. The weaving machine interlaces horizontal and vertical threads to create the design. Every color is woven together with precision to produce a smooth surface. Because the threads are much finer than embroidery thread, woven patches can capture details that embroidery often cannot. The weaving process may take longer for detailed designs, but the final result is worth the effort.
Step 05: Add the Border
After weaving is complete, the patch receives its border. A merrow border is common for simple shapes like circles, squares, and rectangles. For custom shapes, a heat-cut border gives clean edges without extra stitching. The border protects the patch from fraying while giving it a finished appearance. Choosing the right border depends on your design and where the patch will be used.
Step 06: Cut the Patch
Once the border is complete, the patches are separated from the fabric. Small orders are often trimmed by hand, while large production runs usually use laser cutting for smooth and accurate edges. Clean cutting makes the patch look more professional.
Step 07: Apply the Backing
The backing allows the patch to be attached to clothing or accessories. Sew-on backing is the strongest option for jackets, uniforms, and bags. Iron-on backing works well for quick application using heat. Hook-and-loop backing is popular for tactical gear and uniforms because it allows the patch to be removed easily. Choose the backing that best fits your project.
Quality Inspection
Before shipping, every patch should be inspected. Check the thread colors, border, shape, and overall appearance. Make sure there are no loose threads or weaving mistakes. Quality control helps ensure every patch meets customer expectations. This final step also reduces returns and production issues. If you need waterproof patches that can handle everyday wear and tough conditions, consider our custom pvc patches.
Common Mistakes to Avoid
Many first-time makers run into avoidable problems. Using low-resolution artwork is one of the biggest mistakes. Poor artwork often leads to unclear designs. Choosing too many colors can also make production more difficult and increase costs. Poor-quality thread may fade or wear out faster. Skipping quality inspection can result in defective patches reaching customers. Paying attention to these details helps create better products.
Tips for Better Woven Patches
- Use high-quality artwork from the start.
- Choose thread colors carefully.
- Keep your design balanced and easy to read.
- Work with experienced professionals when preparing production files.
- Always inspect a sample before placing a large order.
Need Help To Create Custom Patch Right Now!
Where Are Woven Patches Used?
Woven patches are found on many products. Fashion brands use them on hoodies, jeans, hats, and backpacks. Schools add them to uniforms and club apparel. Sports teams use them for logos and player identification. Businesses place woven patches on employee uniforms and promotional products. Military and outdoor organizations also choose woven patches because they are lightweight and detailed. Their clean finish works well almost anywhere.
Should You Make Woven Patches Yourself?
If you have the proper equipment and experience, making woven patches can be a rewarding project. However, professional woven patch production requires specialized weaving machines, software, and careful quality control. Many businesses save time by working with an experienced patch manufacturer. This helps ensure consistent quality, faster production, and fewer mistakes.
Conclusion
Woven patches are an excellent choice when your design includes fine details, small text, or complex artwork. Using quality materials, prepping your artwork well, and following the right steps can help you make patches that look great and last for years.
If you want professional woven patches without the guesswork, Digitizing Spot is ready to help. We provide quality craftsmanship, fast turnaround, and dependable customer service. Contact us today to request your free quote.
Get A Custom Quote
Frequently Asked Questions
Most woven patches are made from fine polyester threads.
Woven patches are better for detailed designs and small lettering.
Yes, if they include iron-on backing.
Yes. Quality woven patches last for years with proper care.
Yes. They can handle regular washing when attached properly.
Sew-on backing offers the strongest hold.
Yes. Woven patches are ideal for fine details and tiny lettering.
Production time depends on the design and order size.
Merrow borders suit regular shapes, while heat-cut borders work well for custom shapes.
Digitizing Spot offers premium custom woven patches with fast turnaround and a free quote.
